
Replacing one glass-door upright chiller in an installed lineup is not the same as buying a cabinet for an empty store. The old unit may hide utility points, wall conditions, floor changes and gaps. Neighboring cabinets may limit removal, door movement or service work. Store shelves, signage and product plans may have been built around the old dimensions. A controlled replacement starts by identifying the exact old cabinet and product duty, documenting the bay and interfaces, surveying the removal and delivery path, then approving the selected new model against the full retrofit record.
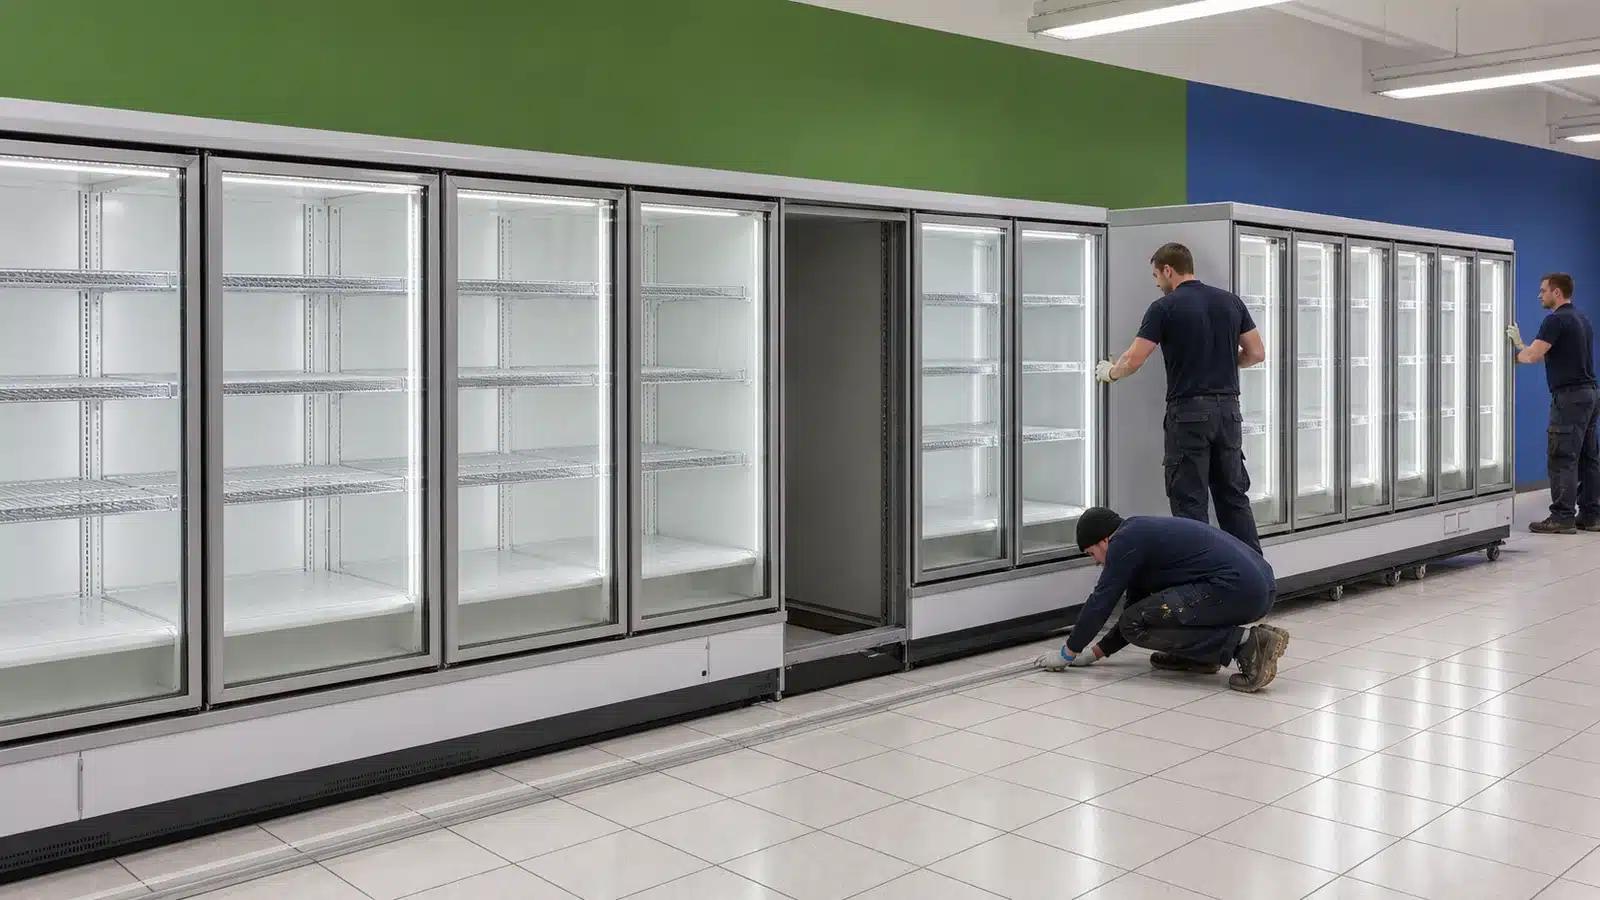
Record the Existing Cabinet Before Removal
Capture asset and model identity, door count, application, outer dimensions from verified records, visible condition, shelf and bay arrangement, signs or light box, neighboring fixtures, wall and floor interfaces, utilities and service history available to the project. Photograph all sides and the complete lineup.
Never classify the old cabinet as chiller or freezer from appearance alone. Confirm its documented duty and the store's intended product category before selecting a replacement.
Survey the Physical Bay
Measure clear bay width, height and depth; finished floor; walls, columns and trims; neighboring cabinet faces; top obstructions; floor curbs; and any fixed signs. Use independent datums instead of measuring only between flexible or misaligned equipment.
Record gaps and filler panels rather than treating them as available cabinet space. A narrow gap may support alignment or access and should not be consumed without project review.
Map Doors, Aisles, and Store Tasks
Draw the new cabinet front and expected door zones from the selected model information. Check customer aisle, handles, adjacent doors, corner fixtures, restocking carts, shelf removal and cleaning work. Record left and right end conditions separately.
Never assume the new door count or hinge arrangement matches the old unit. Even a similar overall width can divide the front differently and change the usable bay plan.
Expose and Verify Interfaces Safely
Qualified teams should identify electrical, drainage, refrigeration and other interfaces that apply before disconnection or removal. Record location, type, access and document source without guessing loads or technical requirements. Review the selected model and project installation concept.
If utilities cannot be inspected until the old unit moves, mark a hold point and contingency. Never release final production or site work based on a concealed-interface assumption.
| Retrofit Interface | Existing Evidence | New-Model Decision |
|---|---|---|
| Bay geometry | Independent dimensions and photos | Cabinet and filler arrangement |
| Product duty | Documented chilled/frozen use | Correct selected model |
| Door/front | Old swing and aisle record | New door count and envelope |
| Utilities | Qualified interface survey | Approved connection plan |
| Neighbors | End gaps, panels and cabinet faces | Alignment and access solution |
| Route | Removal and delivery constraints | Handling and sequence plan |
Plan Removal and Delivery as One Sequence
Survey the old-unit removal path and new-unit delivery path, including doors, turns, lifts, floor transitions, work-zone access and temporary stock plan. Use the delivery path checklist with actual verified cabinet dimensions.
Define whether neighboring fixtures must move and who protects store operations. Qualified personnel should handle disconnection, movement and recommissioning under model and site procedures.
Approve the Replacement Model and Drawing
Compare the exact glass-door upright cabinet proposal with the bay, duty, door arrangement, shelf plan, service access, utilities, appearance and neighboring-case interfaces. Request a project drawing and schedule with model, revision and options.
Never transfer operating temperature, capacity, energy or service claims from the old unit or another model. Use documented data for the selected replacement and qualified project review.
Handover the New Bay
After qualified installation, record final position, alignment, door and shelf observations, utilities, service access, filler or end panels, asset ID, documents and any approved deviation. Compare the finished lineup with the released drawing.
The store should receive the correct product-use and restocking information for the selected cabinet. Archive the old unit record and clearly identify the new asset so future service requests never use the retired model details.
Create a Temporary Store-Operation Plan for the Replacement Window
The retrofit record should explain what happens to displayed products, customer access, neighboring cabinets and staff tasks while the old unit is isolated and the bay is open. The store should define product transfer and handling under its validated procedures, protect the work area, update merchandising signs, and assign an owner for stock and cabinet custody. Never use the replacement article to set food-holding times or technical operating limits.
Sequence photographs before stock removal, after the old cabinet is empty, after disconnection, when the bay is exposed, after site correction, after new placement and at handover. The exposed-bay stage is important because it may reveal wall, floor or utility conditions that were previously hidden. Route any difference through the project hold point.
Plan how the store returns to normal: qualified recommissioning release, shelf and product map restoration, door and aisle check, asset record update, service documents and staff handoff. A replacement is not complete when the new cabinet physically occupies the bay; it is complete when the equipment and store workflow are released together.
Close the Retrofit With a New Asset Baseline
Assign the replacement cabinet a current asset ID and link its selected model, door arrangement, shelf map, utilities, project drawings and qualified release. Retire the old cabinet record without deleting service history. Store teams should know the new product duty and contact route. The bay is closed only when physical installation, documents and operating ownership all reference the replacement unit.
Inspect the Neighboring Cabinets After the Replacement
Photograph and identify adjacent units before movement, then compare panels, doors, glass, alignment, gaps, trims and accessible service zones after the new cabinet is installed. Record any contact or adjustment during the project. Qualified teams should review technical interaction; store staff can confirm aisle and merchandising use. The handover should not assume neighboring equipment remained unchanged simply because it was not replaced. This baseline also prevents a later condition question from being attributed automatically to the new cabinet work.
Buyer Checklist
- Identify the old cabinet, duty, door count, and documents.
- Measure the bay from stable building datums.
- Record neighboring cabinets, gaps, fillers, floor, and walls.
- Map new doors, aisles, restocking, and service work.
- Verify concealed interfaces through qualified review.
- Plan old-unit removal and new-unit delivery together.
- Approve and hand over the exact replacement model and asset record.
Frequently Asked Questions
Can the new cabinet use the old unit's dimensions?
Measure the actual bay and compare it with current selected-model documents; old records alone are not enough.
Can a chiller be replaced by a freezer version of the same shape?
Product duty, model capability, utilities, store use and qualified project approval must all match; appearance does not establish equivalence.
Should the old cabinet be removed before ordering?
The sequence depends on access to hidden interfaces and project risk; define inspection hold points before release.
Related Product or Reading
Use commercial refrigeration service-access planning to preserve access around the replacement cabinet after the bay is filled.
Discuss the Exact Project
Send XCCOLD the old cabinet record, product duty, bay dimensions, neighboring-case photos, door and aisle plan, route, utilities, service access, and required replacement configuration.