
A tray change in a fresh meat showcase affects product positions, labels, rear-service movement, cleaning access, and the next shift's understanding of the display. If staff move trays informally during trade, the intended map can disappear and exceptions become difficult to trace. The controlled approach is to record the current state, remove product under the store's approved handling process, release the empty display, reset trays from a map, and hand over the finished arrangement.
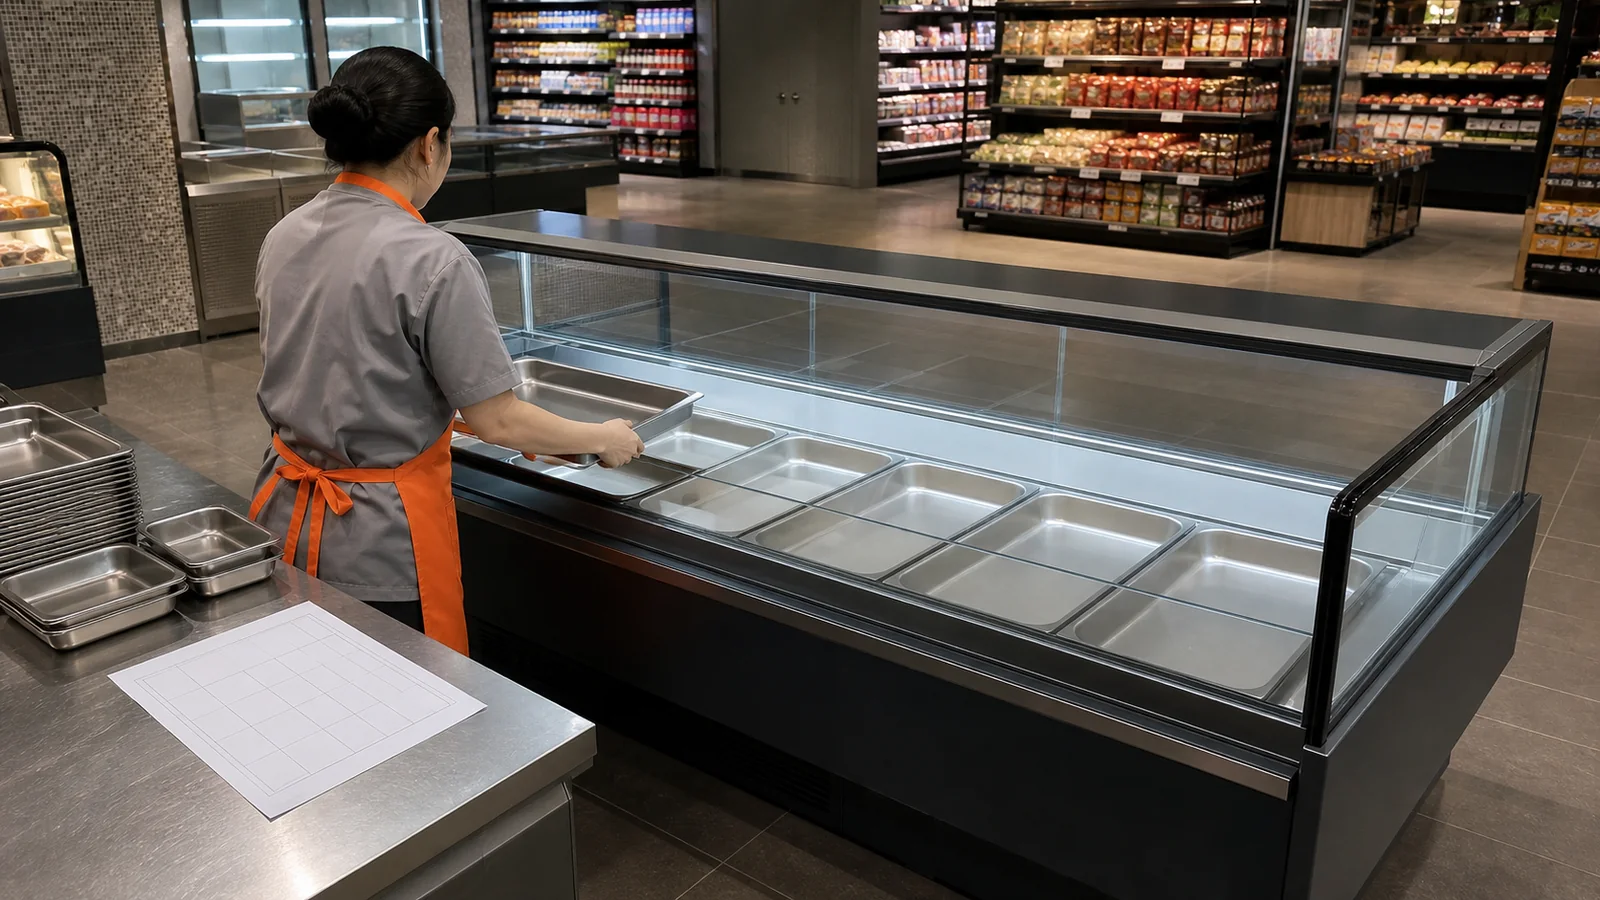
Confirm the Exact Counter Structure and Application
This workflow applies to a fresh meat showcase counter with straight glass, counter-height display, and rear service access. It must not use a deli-food counter image or assume a curved-glass structure. Record model, asset ID, lineup position, counter section, specified duty, rear access, and current tray arrangement.
Identify adjacent scales, preparation benches, handoff points, sinks, doors, or other fixtures only as site context. Their food-safety and operational suitability belongs to the store's approved procedures.
Approve the Before-State and Target Map
Photograph the full customer view and rear-service view, then each display section. Create a tray map with section IDs, tray positions, product categories, label locations, and any reserved or unavailable space. Define the reason for the change and who approves it.
Never use color or tray appearance as the only product identifier. The map should use store product codes or clear category names appropriate to the operation. Remove obsolete copies so two shifts never follow different layouts.
Remove Product and Release the Display
Follow the store's validated food-handling, hygiene, time, and temperature controls. Record product destination and any exception. Once empty, clean accessible display surfaces, trays, and approved components under manufacturer and store guidance. Technical panels and refrigeration parts remain outside this routine task.
The responsible person should release the empty display before trays return. Record damaged trays, cracked surfaces, condensation, drainage concern, loose parts, or other observations for the correct service or quality route.
Reset Trays From the Rear Service Side
Stage identified trays so staff can load in sequence without crossing clean and uncleared items. Place trays according to the map and check that they sit correctly within the selected counter. Preserve required access and never block visible cabinet features or service paths.
Take an empty-layout photo before product refill. If the planned arrangement does not physically fit, update the map through approval rather than improvising a compressed arrangement.
| Record Point | Customer-Side View | Rear-Service View |
|---|---|---|
| Before state | Product and label arrangement | Access and tray sequence |
| Empty release | Visible display condition | Cleaned work area and exceptions |
| Tray reset | Spacing and sightline | Tray IDs and loading order |
| Final handoff | Product categories and labels | Access, tools, and open issues |
Refill and Verify the Product Map
Refill by section under the store's approved handling process. Match product and labels to the new map and keep the customer-facing presentation separate from internal inventory records. Stop when product packaging, tray fit, or label location conflicts with the plan.
After refill, inspect from the customer and service sides. The straight glass should remain unobstructed by temporary paperwork or tools, and the rear workflow should remain usable. Any technical performance concern goes to qualified service rather than being diagnosed from the tray change.
Hand Off the Display Across Shifts
The handoff should identify asset, change date, approved map revision, products moved, cleaning release, final photos, open exceptions, and staff acceptance. Store the map where the next shift can access the current version.
Observe the display after routine service begins. If staff repeatedly move one tray, record the operational reason and review the map rather than allowing silent drift. That feedback can inform a future layout without rewriting the equipment specification.
Keep Equipment Records Separate From Food-Control Records
The tray-changeover pack should link to, but never replace, the store's food-safety, hygiene, allergen, product-temperature, and traceability systems. The equipment record identifies counter, section, tray position, physical condition, cleaning release reference, setup map, and exceptions. The food-control record identifies product, handling, time, temperatures where required, sanitation verification, and responsible personnel under the operation's validated process.
Use one event ID across both systems so reviewers can connect them without copying sensitive or complex food records into the equipment file. This division keeps the article within an equipment workflow and gives store teams a cleaner audit trail. It also prevents a cabinet photo from being treated as proof that every food-control requirement was met.
Define physical status labels for trays: awaiting removal, removed, cleaned and released, mapped, loaded, held, or damaged. Ensure labels never contact product or create contamination risk under the store process. The status system helps rear-service staff coordinate without placing uncleared trays beside released ones.
At shift handoff, review both the display map and open food or equipment exceptions through their proper channels. A missing tray may require supplier support; a product disposition belongs to food operations; condensation or a damaged accessible component may require service. The supervisor accepts the combined readiness only when all required releases are present. This separation of duties makes the changeover richer and safer than a generic merchandising checklist while preserving the exact straight-glass fresh-meat application.
Review the Rear-Service Workload
Observe how many staff work behind the counter, where empty and filled trays wait, how labels and tools move, and which point repeatedly becomes congested. Record the issue against a counter section and task, not as a claim that the cabinet design is defective. The store may adjust timing, staging, map sequence, or adjacent workflow while equipment questions go to the supplier. After the trial, compare handling steps and exceptions across shifts. A layout that looks attractive from the customer side still needs a repeatable rear-service sequence that fits the verified straight-glass fresh-meat counter.
Control Tools and Temporary Items
Define where empty trays, approved tools, labels, cloths, and packaging wait during the change. Keep them out of the customer display and away from released product zones under the store procedure. At each gate, reconcile tools and remove temporary items before photography and handoff. Repeated missing tools or blocked rear access become workflow exceptions, while damaged equipment components follow the qualified service route.
Buyer Checklist
- Verify straight-glass fresh meat counter identity and rear-service structure.
- Approve a tray and label map before product removal.
- Follow store-controlled food handling for all product movement.
- Obtain an empty, cleaned display release before reset.
- Photograph the tray layout before refill.
- Verify final product categories and labels from both sides.
- Hand over the current map revision, exceptions, and acceptance.
Frequently Asked Questions
Can this workflow be used for a deli showcase?
No. Fresh meat and prepared-food applications must remain distinct, and the exact deli-counter structure needs its own plan.
Should staff move technical panels during tray reset?
No. Limit the task to approved accessible display components and route technical work to qualified service.
What if the approved tray map does not fit?
Record the conflict and revise the map through the responsible approval process instead of improvising.
Related Product or Reading
Read the fresh meat showcase counter buying guide for initial structure and project selection before creating an operating tray map.
Discuss the Exact Project
Send XCCOLD the exact fresh-meat counter model, straight-glass structure, store plan, tray format, display requirement, rear workflow, and technical questions.