
Seasonal products often require different shelf heights and facings. In an open multideck chiller, moving shelves without a record can create inconsistent presentation, lost brackets, blocked openings, and uncertainty when store conditions change. A photo baseline makes the reset traceable and reversible.
This article covers an XCCOLD open multideck upright wall case with no front doors. It is not a glass-door upright chiller or a frozen-food island cabinet.
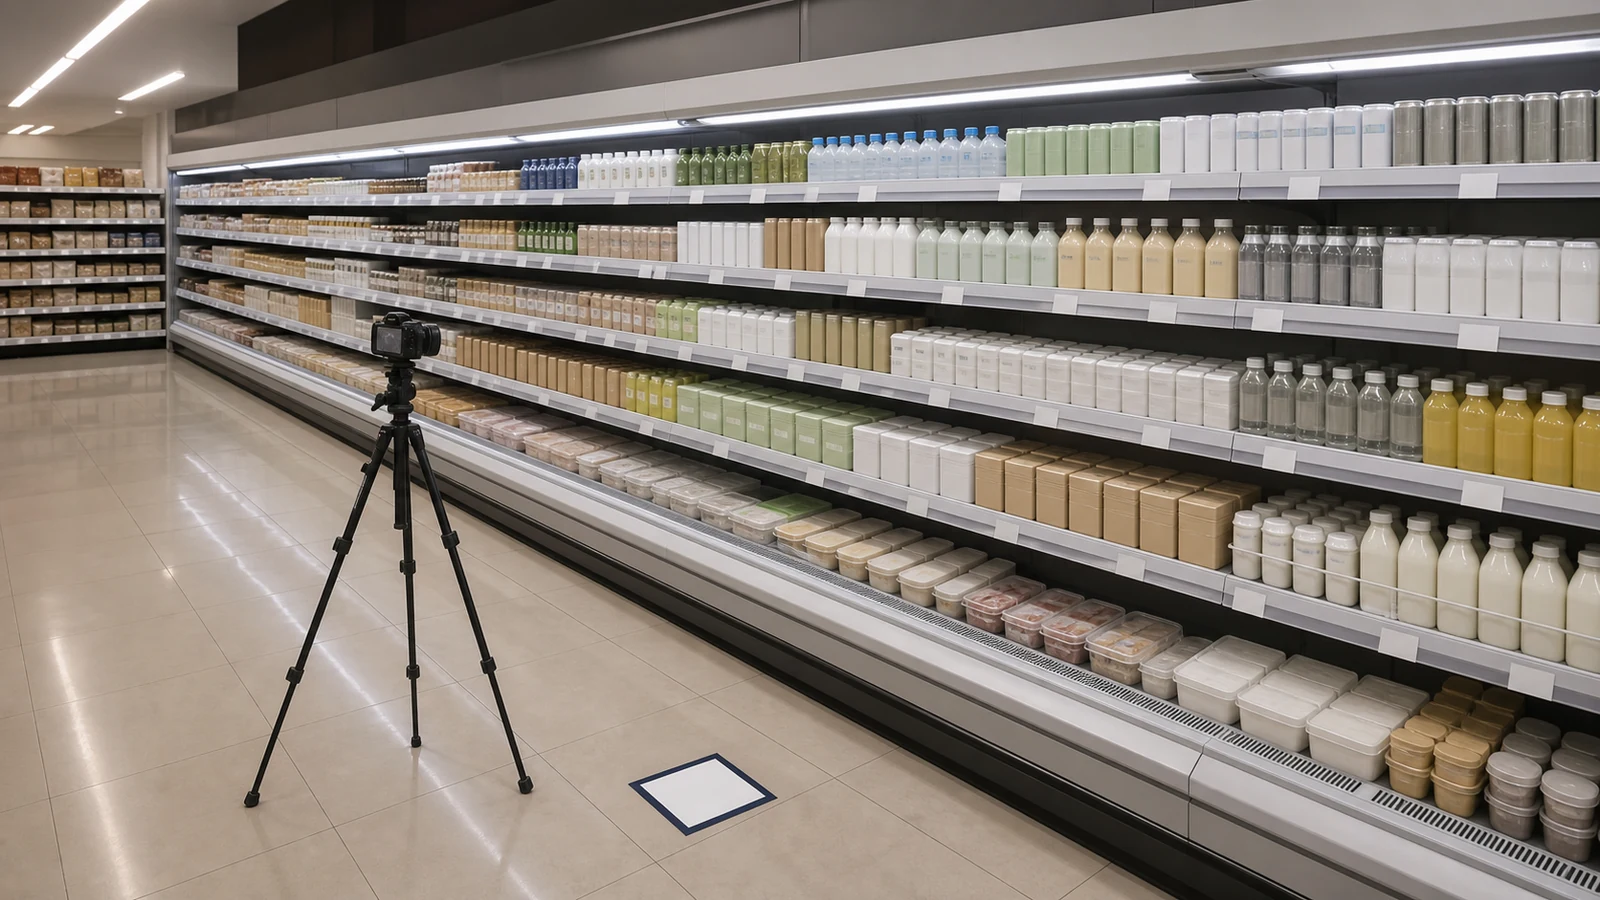
Define the Reset Purpose
Record the exact multideck open chiller, asset code, model, store zone, installation type, date, product categories, and reason for change. Examples include a seasonal beverage range, dairy assortment, packaged chilled food, or produce presentation within the approved product use.
Attach the approved planogram or product list. Avoid changing cabinet use merely because another product fits on the shelf.
State who approves merchandising, refrigeration operation, food safety, cleaning, and shelf work.
Photograph the Loaded Baseline
Take a full-front image, both ends, each shelf, base deck, price rails, signs, visible air openings, and nearby store conditions. Record shelf count, product groups, package heights, and obvious gaps.
Use one fixed camera position for before-and-after comparisons. Include an asset code card outside the product display where appropriate.
The open chiller merchandising plan provides broader layout context. This baseline records one real change.
Remove and Protect Chilled Products
Follow the retailer's food-safety and product-handling process. Prepare approved temporary storage, labeled carts or crates, and responsible staff before the reset begins.
Record removal start and finish times and any product requiring separate disposition. Keep shelf labels linked to their product groups.
Avoid leaving chilled goods at the cabinet while staff search for brackets or drawings.
Capture the Empty Cabinet
Once the authorized process permits, photograph the empty cabinet from the same front position and each end. Add close views of shelf supports, brackets, lighting, price rails, back panels, base deck, and visible air openings.
| Empty-Baseline Item | Record |
|---|---|
| Shelf | Number from top or fixed datum |
| Bracket | Left and right position; matching pair |
| Angle | Approved setting or reference |
| Price rail | Position and condition |
| Lighting | Visible component and obstruction |
| Air opening | Clear, obstructed, or requires qualified review |
Avoid removing panels or service components outside authorized store work.
Code Shelves and Bracket Positions
Give each shelf a code and define the counting direction. Record left and right bracket slots or another model-approved position reference.
Keep removed shelves, brackets, rails, and fasteners grouped by cabinet. Similar parts from neighboring cases may not be interchangeable.
Photograph labels before removing them. A product name without shelf code is difficult to restore later.
Coordinate Approved Cleaning
Shelf removal may expose surfaces that need cleaning. Use the equipment manual and store procedure for compatible products, water control, electrical safety, and food-area hygiene.
The refrigerated display case cleaning access plan helps align timing and records. Keep cleaning observations separate from merchandising decisions.
Record damaged brackets, loose trim, cracks, or unusual moisture for qualified review.
Install the New Shelf Layout
Use the actual model's permitted shelf positions, bracket pairing, loading guidance, and accessory method. Verify that each shelf is seated consistently and that labels or promotional material stay clear of visible air paths and lights.
Avoid copying an angle from a different cabinet. Product category, shelf depth, package height, and model structure may differ.
Take an empty after-image before product hides the supports.
Reload by Product Group
Return products under the approved handling process. Record package heights, facings, shelf labels, and loading boundaries. Keep items from pressing against glass, lighting, panels, or visible openings.
Use wide and close photographs. The final full-front image should use the same camera position as the original baseline.
Check that customers can read labels and staff can replenish without forcing packages through narrow gaps.
Monitor After the Reset
Follow the store's approved monitoring and equipment procedures. Record time, product loading, store activity, available readings, unusual moisture, noise, water, or display changes.
Avoid attributing any observation to the shelf reset without qualified review. The before-and-after record helps technicians understand what changed.
Set a defined review point after initial trading and restocking.
Prepare a Rollback Record
Keep the old shelf-position table and photographs until the new layout is accepted. If the store returns to the prior setup, record the decision and resulting positions.
Rollback may restore merchandising appearance but does not prove the source of an equipment concern. Preserve service observations separately.
Return unused parts to labeled storage.
Close the Change File
Include asset code, model, reset purpose, product list, baseline photos, empty positions, cleaning record, new positions, loaded photos, approval, observations, and open issues.
Use the file during future seasonal resets instead of relying on memory. Update it when the product mix or cabinet configuration legitimately changes.
Add a Reset Verification Pair
Select two or three fixed reference views that staff can repeat after later restocking: one full-front view, one shelf-support detail, and one end view showing product depth. Store them with the approved position table and date. A repeatable verification pair helps distinguish a planned shelf reset from gradual drift caused by routine replenishment, moved labels, or unrecorded bracket changes. It also gives the next shift a faster acceptance check without reopening the whole project file.
Related Reading
- Open Multideck Chiller Merchandising supports product-group planning.
- refrigerated display case cleaning access plan coordinates approved cleaning work.
Common Questions
Is there one correct shelf angle for every open chiller?
Use the model documentation, approved accessories, product packages, and store plan.
Can one store copy another store's shelf positions?
Only after confirming the exact cabinet model, structure, products, and project requirements.
Why photograph the cabinet empty?
Empty views preserve bracket, shelf, lighting, label, and visible air-opening details hidden after loading.
When is the reset complete?
After product handling, physical setup, operational monitoring, documentation, and responsible approval meet the store process.
Share the Reset Record
Use the XCCOLD contact page to send the model, asset code, shelf count, old and new position tables, before-and-after photos, product mix, labels, and observed changes. A clear baseline gives project and service teams something concrete to review.