
Water found beside an open multideck chiller needs quick containment and a careful source check. The cabinet may be involved, but spills, floor cleaning, nearby plumbing, blocked drainage, store humidity, or an installation issue can create a similar puddle. Preserve the pattern before moving the case or assuming which component failed.
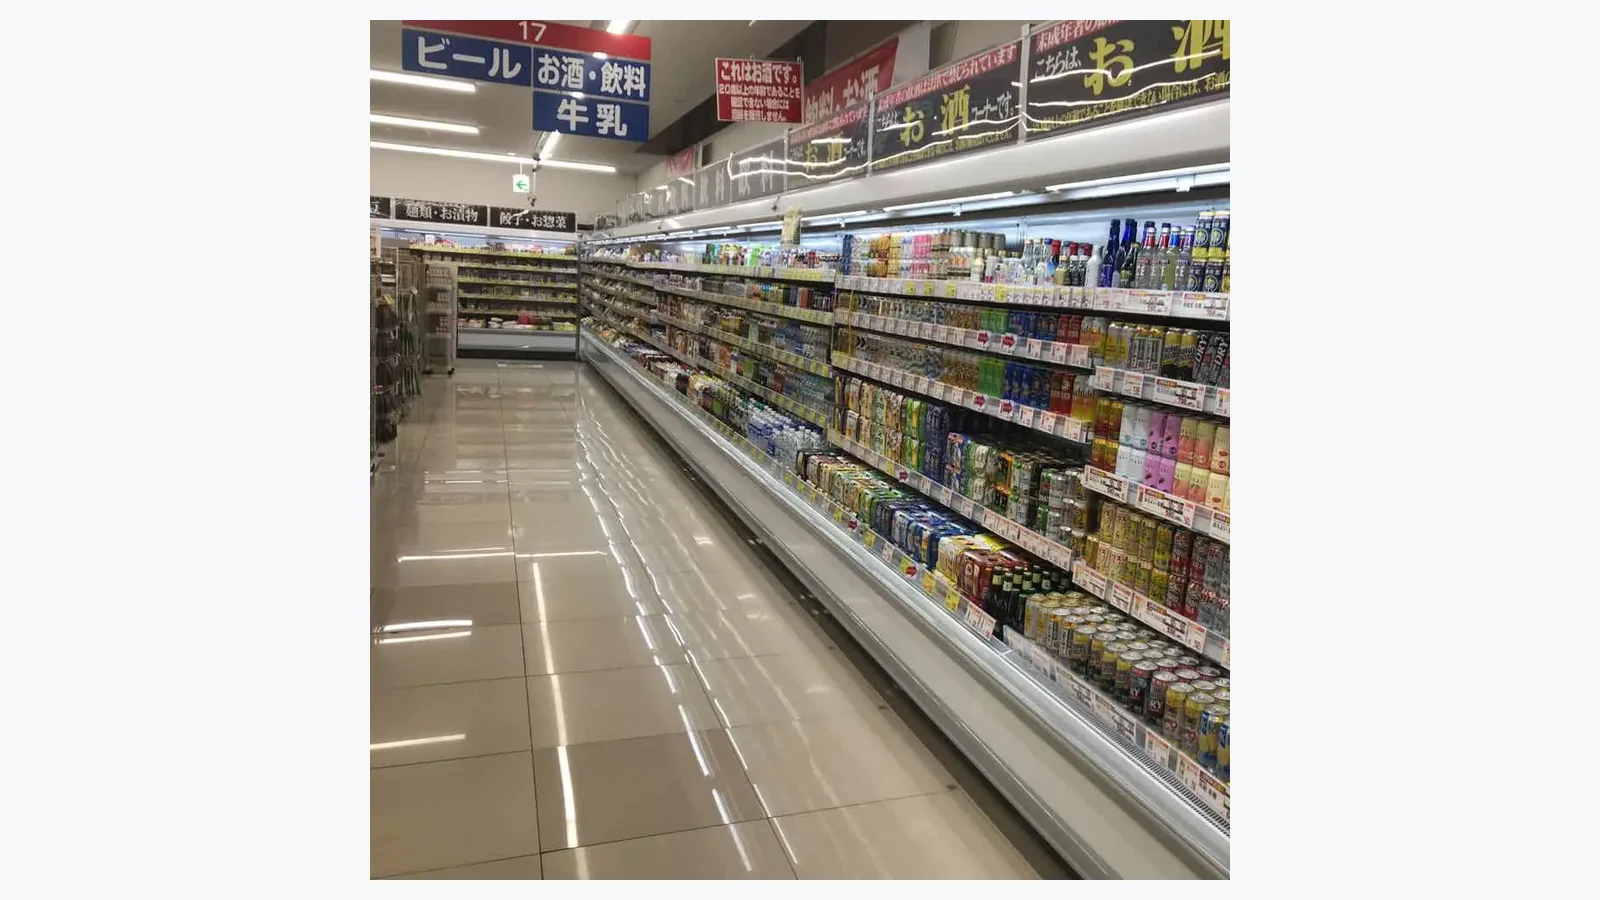
Make the Area Safe and Preserve the Pattern
Protect customers and staff from the wet floor. Follow the store's electrical and equipment-safety procedures, and call qualified service support immediately when water is near electrical parts, the cabinet is behaving abnormally, or staff cannot identify a safe containment method.
Before the floor is fully cleaned, photograph the whole cabinet line and the water location from several angles. Mark the first wet point, furthest spread, nearby drains, walls, plumbing, cleaning equipment, and adjacent cases. Record time, weather, store activity, and whether the cabinet was operating, being stocked, or being cleaned.
This first record can disappear within minutes. A close photograph of water alone is less useful than a wide view showing where it sits relative to the open chiller.
Rule Out External Water Sources
Check for a dropped bottle, leaking product package, floor-cleaning activity, roof or wall water, nearby sink or ice equipment, plumbing, and water tracked from an entrance. Ask staff what happened before the puddle appeared.
Inspect shelves and product packs above the wet area. A leaking container can run through the cabinet and reach the floor in a way that resembles condensate. Likewise, water left after cleaning may collect at the cabinet base because of floor slope.
Record an external source even when it looks obvious. If the condition returns after the spill is removed, the first event may have hidden a second problem.
Map the Cabinet and Drainage Context
Identify the exact model and whether the project is plug-in or remote. Locate visible drains, hoses, traps, pans, floor drains, and service connections only where staff can inspect them safely. Compare the installation with the model documentation and project drawings.
Avoid disconnecting hoses or removing panels without qualified support. A technician needs to see the original routing and the point where water first appears.
| Observation | Evidence to Record |
|---|---|
| Water appears under one section | Exact cabinet module and floor location |
| Water appears after cleaning | Cleaning time, method, and nearby floor activity |
| Water appears during busy periods | Door activity nearby, restocking, store conditions, and recurrence time |
| Floor drain is slow | Drain condition and whether other areas are affected |
| Hose or connection looks displaced | Wide and close photographs before movement |
| Ice or condensation is visible | Location, extent, product loading, and operating state |
The evidence helps distinguish cabinet drainage, site drainage, product leakage, and cleaning water without asking store staff to make a technical diagnosis.
Review Loading and Airflow Without Rearranging Everything
Open chillers depend on their designed air path. Product placed beyond loading limits, packaging pressed against outlets or returns, promotional material, and altered shelves can affect operation. Photograph the loaded case before changing the display.
Compare the arrangement with the cabinet's actual loading guidance. Remove only clear obstructions through the store's normal operating process, and record what changed. If water stops after a loading correction, keep observing; the result is useful evidence but may not prove the full cause.
The open chiller merchandising article provides related shelf and airflow context. It remains separate from the immediate service decision.
Trace the Source Along a Multi-Case Run
Several open-chiller modules may stand together, while the visible water collects at the lowest floor point rather than directly below its source. Label each module from one fixed end and photograph the full run, joints, end panels, floor seams, and slope direction. Mark where the floor first becomes damp and where the largest puddle forms.
Check the timeline section by section. Record whether water first appears near one joint, after work on a particular module, or only after it travels beneath a kick plate or floor channel. Keep nearby cabinets, plumbing, and cleaning equipment in the wide view. A dry floor under one module at the moment of inspection does not prove that module can be excluded from qualified review.
Avoid moving connected cases or separating trim to follow the trail. Preserve the original installation and ask the technician to inspect concealed routes. If staff must clean the floor for safety, place temporary reference markers outside the wet area and take a new photo after each recurrence. The sequence helps distinguish the first visible point from the final collection point.
For repeated events, use the same module labels and camera positions. A consistent map can reveal whether the source remains local, shifts with store activity, or appears across the entire run.
Note Store Conditions and Timing
Record whether exterior doors were open, humid outdoor air entered, ventilation changed, nearby cooking or cleaning increased moisture, or the store experienced a power interruption. Also note whether the condition appears at opening, after restocking, during peak traffic, or at a repeat time in the equipment cycle.
Avoid inventing a universal humidity or temperature threshold. The acceptable operating environment depends on the actual model and project. The useful task for store staff is to provide a reliable timeline and available site readings.
Prepare a Technician Handoff
Send the exact product model, cabinet line position, installation type, first discovery time, recurrence pattern, wide and close photos, store-condition notes, cleaning activity, loading condition, and any visible drain information. Include recent service or layout changes.
Keep access to the service area clear. The service access planning article explains why counters, displays, storage, and wall finishes should not trap panels or drain routes.
After service, record the finding, action, parts if documented by the technician, and the observation period. This creates a baseline if the water returns.
Related Reading
- Open Chiller Merchandising Plan supports loading and airflow review after the immediate condition is contained.
- Commercial Refrigeration Service Access helps keep drainage and panels reachable.
Common Questions
Should the cabinet be moved to find the source?
Moving installed refrigeration equipment can damage connections or erase evidence. Keep the area safe and let a qualified party decide how access is created.
Does a slow floor drain prove the open chiller is working correctly?
No. It identifies a site issue that may contribute to the puddle, while the cabinet and its drainage still need review if the condition persists.
What information helps service most?
Exact location, timing, recurrence, model, installation type, loading photos, cleaning events, store conditions, and untouched connection photos give the technician a useful starting point.
Send a Water-Issue Record
Use the XCCOLD contact page to share the product model, project context, photographs, timeline, and service-access information. A complete record is more actionable than a cropped puddle image or a general statement that the case leaks.